
Fastly
Learn how to integrate TollBit with Fastly.
To integrate TollBit with your Fastly instance, we'll use Fastly's HTTPS endpoint to configure Analytics and VCL scripts to implement Agent Site. Please see the steps below outlining each step.
Steps for Analytics
Create a new Logging Configuration
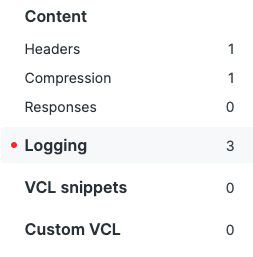
Go to your Fastly Dashboard and pick the correct domain. Click “Edit Configuration”, and clone your current configuration. This saves a new configuration version as a draft, and allows you to rollback if necessary. This should bring you to a new screen. On the sidebar, scroll down until you see Logging and click on that. Then, click “Create Endpoint”.
Configure your logs to be sent to our logging endpoint

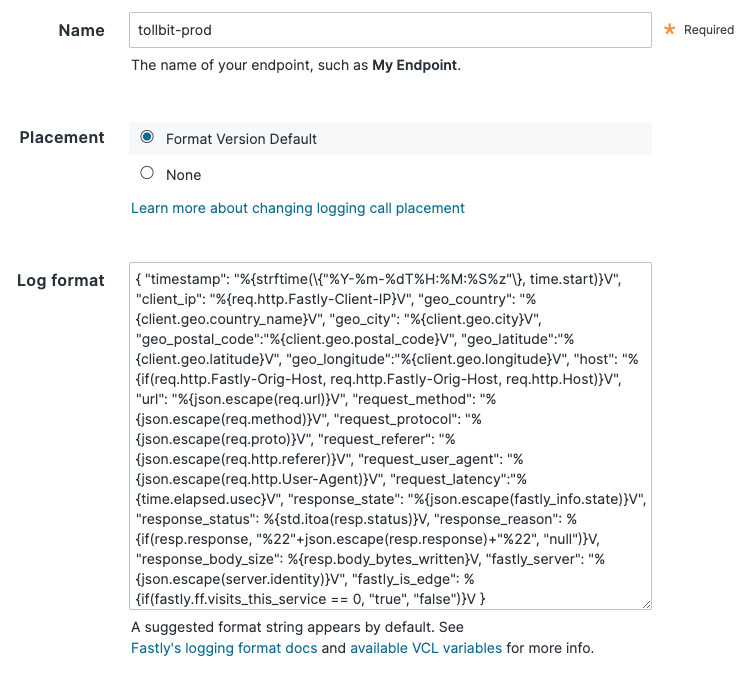
Find the HTTP logging endpoint and click “Create endpoint”. You can set the name to anything descriptive (e.g. tollbit-prod). Keep the placement option as the default selection. Make sure your log format is exactly as follows, without extra trailing spaces or newlines:
{ "timestamp": "%{strftime(\{"%Y-%m-%dT%H:%M:%S%z"\}, time.start)}V", "ip_address": "%{req.http.Fastly-Client-IP}V", "geo_country": "%{client.geo.country_name}V", "geo_city": "%{client.geo.city}V", "geo_postal_code":"%{client.geo.postal_code}V", "geo_latitude":"%{client.geo.latitude}V", "geo_longitude":"%{client.geo.longitude}V", "host": "%{if(req.http.Fastly-Orig-Host, req.http.Fastly-Orig-Host, req.http.Host)}V", "url": "%{json.escape(req.url)}V", "request_method": "%{json.escape(req.method)}V", "request_protocol": "%{json.escape(req.proto)}V", "request_referer": "%{json.escape(req.http.referer)}V", "request_user_agent": "%{json.escape(req.http.User-Agent)}V", "request_latency":"%{time.elapsed.usec}V", "response_state": "%{json.escape(fastly_info.state)}V", "response_status": %{std.itoa(resp.status)}V, "response_reason": %{if(resp.response, "%22"+json.escape(resp.response)+"%22", "null")}V, "response_body_size": %{resp.body_bytes_written}V, "fastly_server": "%{json.escape(server.identity)}V", "fastly_is_edge": %{if(fastly.ff.visits_this_service == 0, "true", "false")}V, "signature": "%{json.escape(req.http.signature)}V", "signature_agent": "%{json.escape(req.http.signature-agent)}V", "signature_input": "%{json.escape(req.http.signature-input)}V" }Finally, set the URL to https://log.tollbit.com/log.
Ensure that your Requests are Authenticated
Go into Advanced Options and set the “Custom header name” field to “TollbitKey”. You must set the customer header value to your secret key. Log into your TollBit portal and go into the API key tab and copy your secret key. Paste it into the “Custom header value” field with no trailing spaces. Keep all the other settings as default, scroll to the bottom, and save.
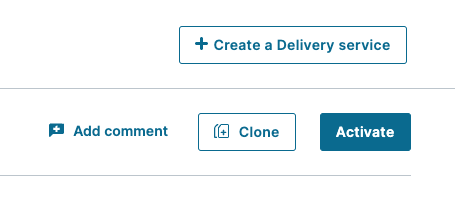
Once you are ready to publish these changes, click the “Activate” button. Keep in mind that if you have other unpublished changes in Fastly, this may also publish those as well.
Steps for Agent Site
Fastly allows you to set up redirects using VCL snippets. In this document, we will go over setting up forwarding requests from known bots to your tollbit subdomain.
Pro TipThe code shown here is for a clean Fastly environment. If you have any existing VCL scripts that intercept requests, you will need to integrate these scripts into your existing workflow.
You can use Fastly VCL to rewrite URLs and proxy from a different origin, in this case, the tollbit subdomain.
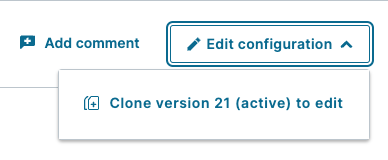
Go to the Deliver tab and select the domain you wish to add bot forwarding to. On the right side of the screen, click the Edit configuration button and choose to clone your current active version.
Create a New Host
Navigate to the Origin tab in your left navigation and create a new host. Use your tollbit subdomain as the host.
Once you create this, you might see a warning that this backend is unused. No need to worry about this for now.
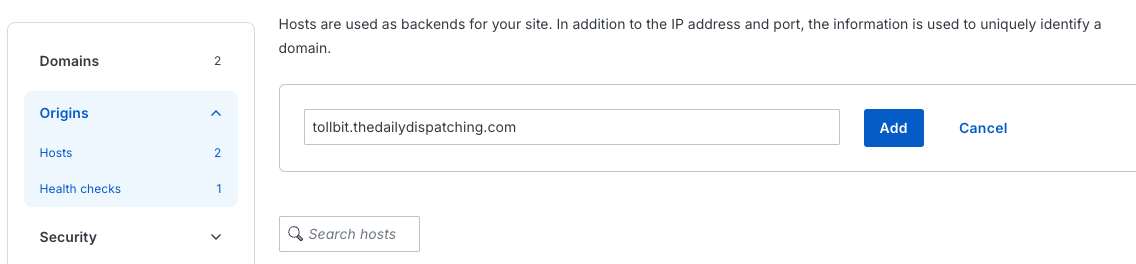
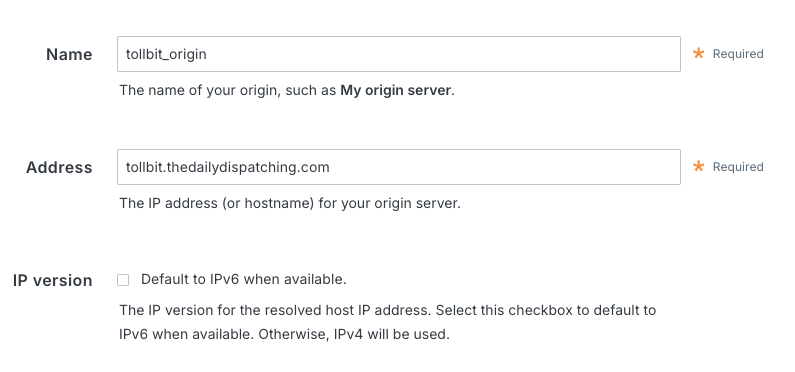
Once it’s been added, scroll down and click the little pencil icon next to the host name to edit this and give it a better name. You can name it something more clear, like “tollbit_origin”. Scroll down and click Update to save.
In this example, we are using our test website thedailydispatching.com.
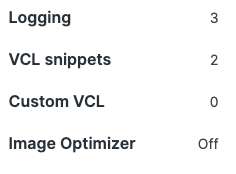
Add (or Modify) your VCL
On the left hand sidebar, click "VCL Snippets".
NoteIf you’ve followed our docs previously to set up your recv and error VCL snippets, this would just require some quick edits. We will walk through both snippets as if setting them up as new in these docs.
In your left nav, go to VCL snippets. If you haven’t already, create a new snippet for the recv step called tollbit-recv-snippet.
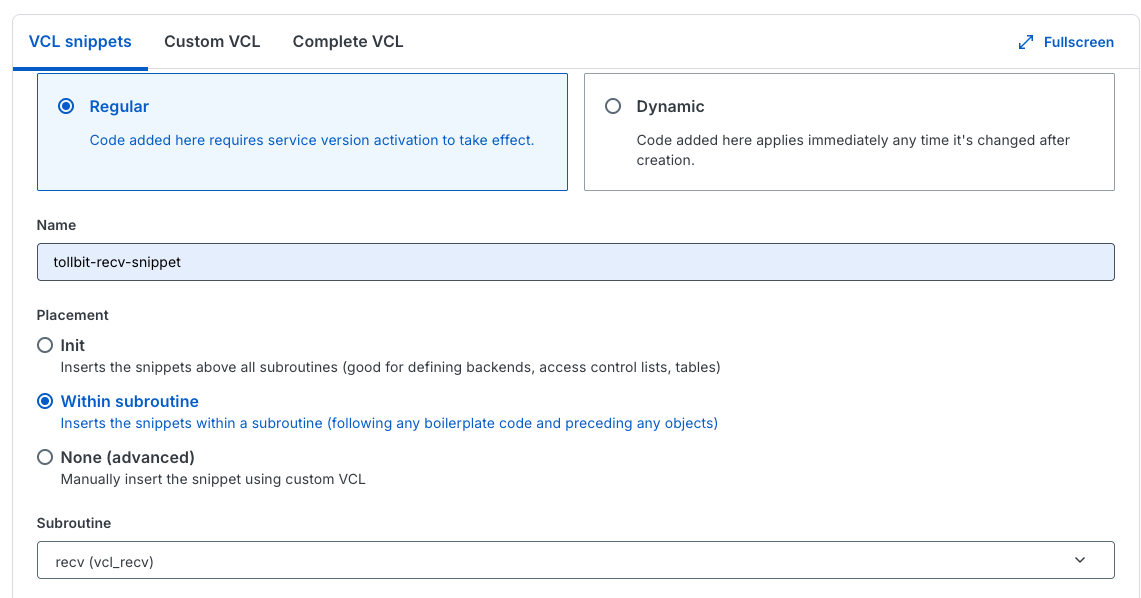
For the recv snippet, paste in the following snippet. Ensure that the backend name is the same that you’ve set before. If you applied our recommended edit, it will be F_tollbit_origin (line 2 below).
if (req.http.user-agent ~ "(?i)amazonbot|amzn-searchbot|anthropic-ai|bytespider|ccbot|chatgpt-user|claude-code|claude-searchbot|claude-user|claude-web|claudebot|cohere-ai|diffbot|exabot|gptbot|meta-externalagent|meta-webindexer|oai-adsbot|oai-searchbot|perplexity-user|perplexitybot|timpibot|youbot") {
  set req.backend = F_tollbit_origin;
  if (std.prefixof(req.http.host, "www.")) {
      set req.http.host = std.replace_prefix(req.http.host, "www.", "tollbit.");
  } else {
      set req.http.host = "tollbit." + req.http.host;
  }
  return(pass);
}
If you created an error snippet in the past for the redirect, you no longer need it, and can remove it.
NoteThe VCL scripts you just added will intercept and potentially redirect traffic to your main site. Please ensure that you have tested this in a test environment or for a small subset of pages before activating this across your entire site.
This should now be all you need to forward known bot traffic to your tollbit subdomain!
Once this is saved or updated, you can now activate your service configuration and this will be live in a few minutes.
Updated 7 days ago