
Imperva
Learn how to integrate TollBit with Imperva.
Imperva
Follow these steps to set up an integration into our platform if you use Imperva.
The Imperva–TollBit integration allows publishers to combine Imperva’s advanced bot-mitigation and traffic-security capabilities with TollBit’s analytics and monetization controls.
By connecting the two platforms, Imperva can forward detailed analytics logs to TollBit, enabling deeper insights into traffic quality, bot behavior, and request patterns. Once the integration is in place, you can also enable Imperva-driven bot redirection so TollBit can manage how AI traffic is classified, analyzed, and monetized.
Sending Logs with Imperva
Enabling logs with Imperva requires dropping traffic logs to an S3 or GCS bucket, adding in the appropriate permissions on the bucket, and then sending your bucket details to [email protected] for completing the ingestion.
See the Imperva docs here for reference on how to enable log ingestion from the Imperva portal.
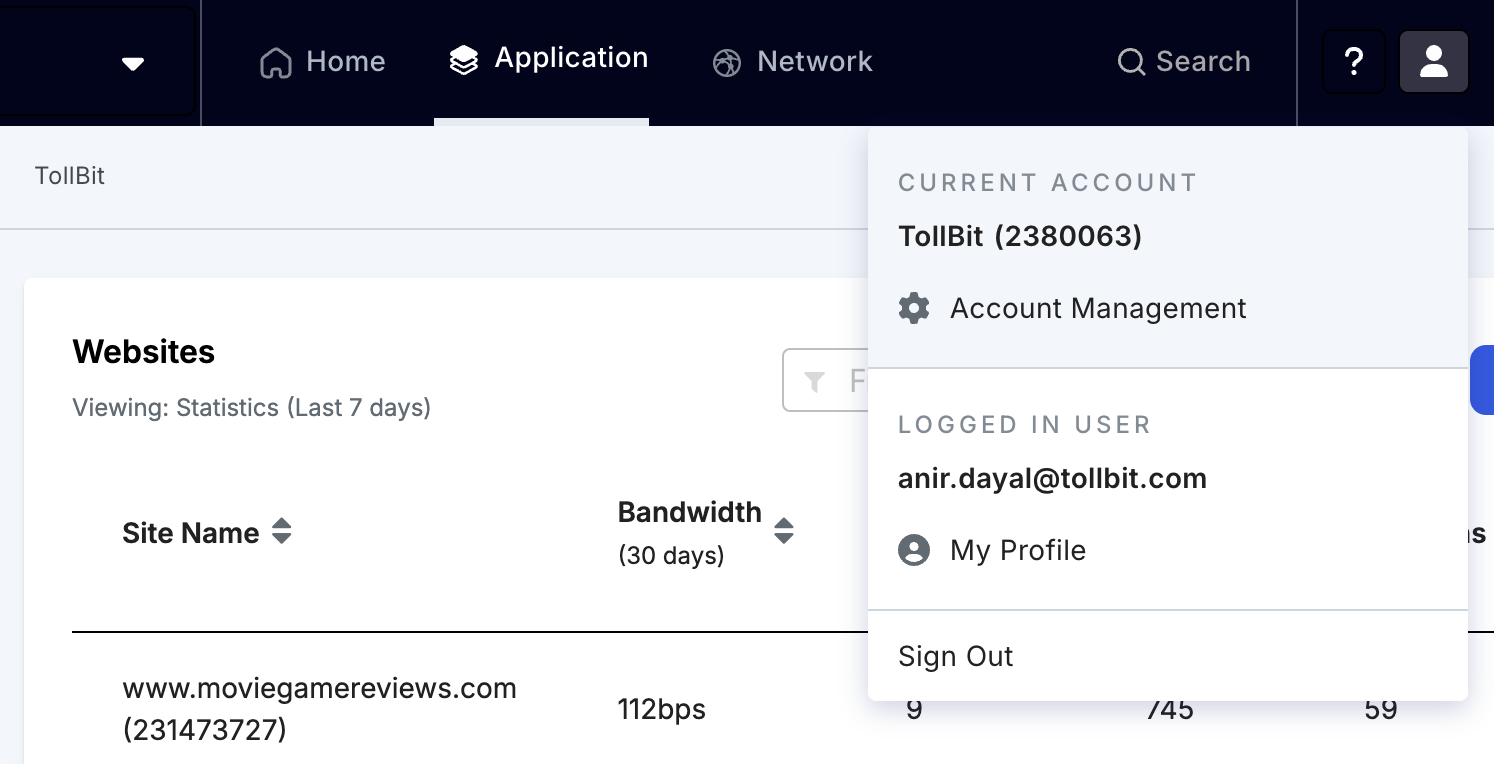
Step 1 - Go to account management on the top right corner of the Imperva portal
Step 2 - Under Siem logs and Log Configuration, add a connection and at the bottom of the pop-up, select Amazon S3 as the delivery method. Once selected, add in your bucket credentials and then test the connection before clicking ‘Create’
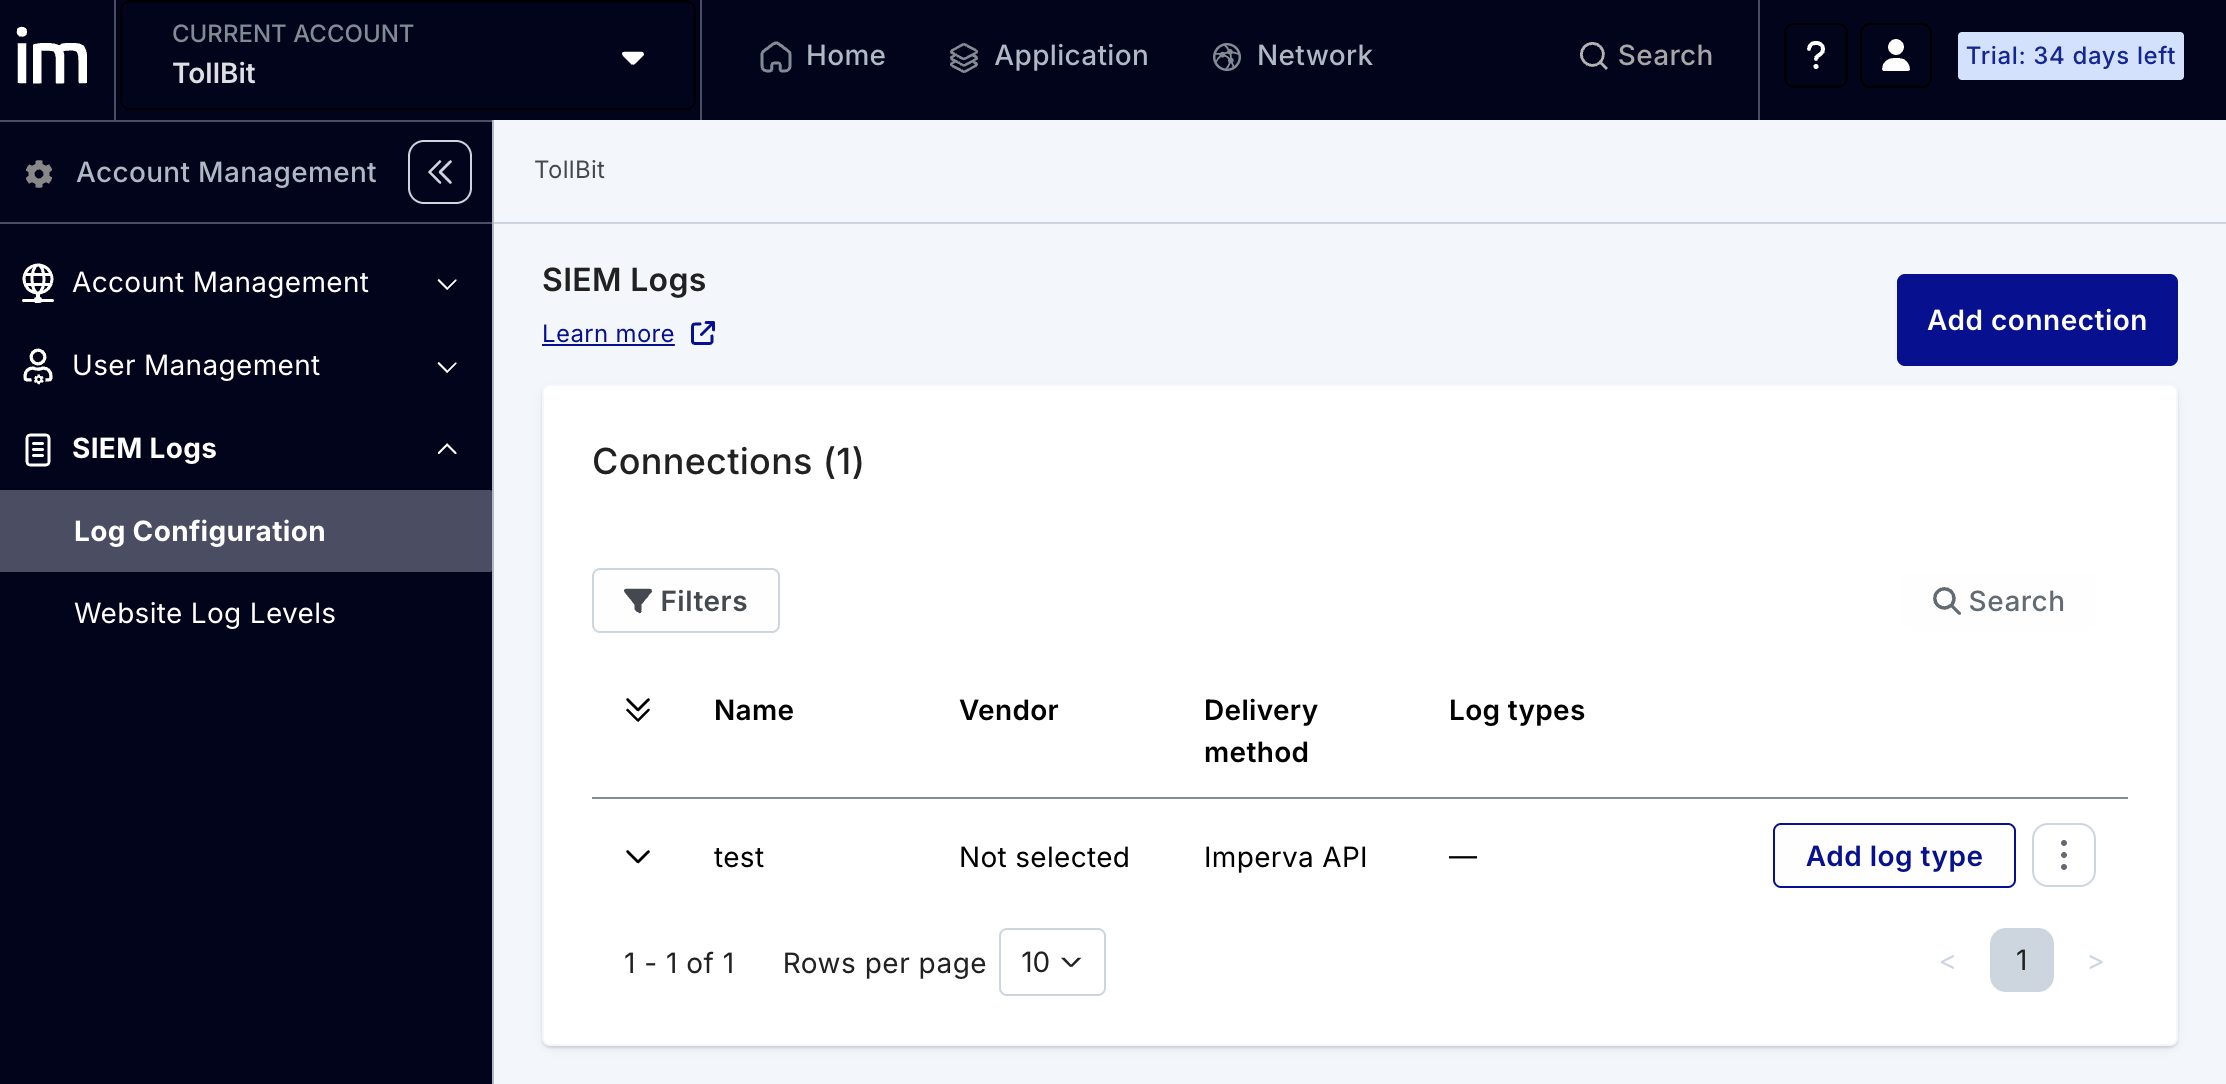
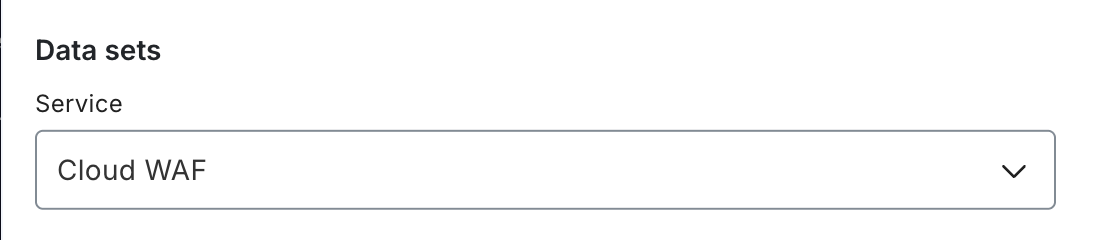
Step 3 - Under the Log Configuration portal, choose “Add Log Type” in the Connection that was just created for S3. Please select Cloud WAF as the service type.
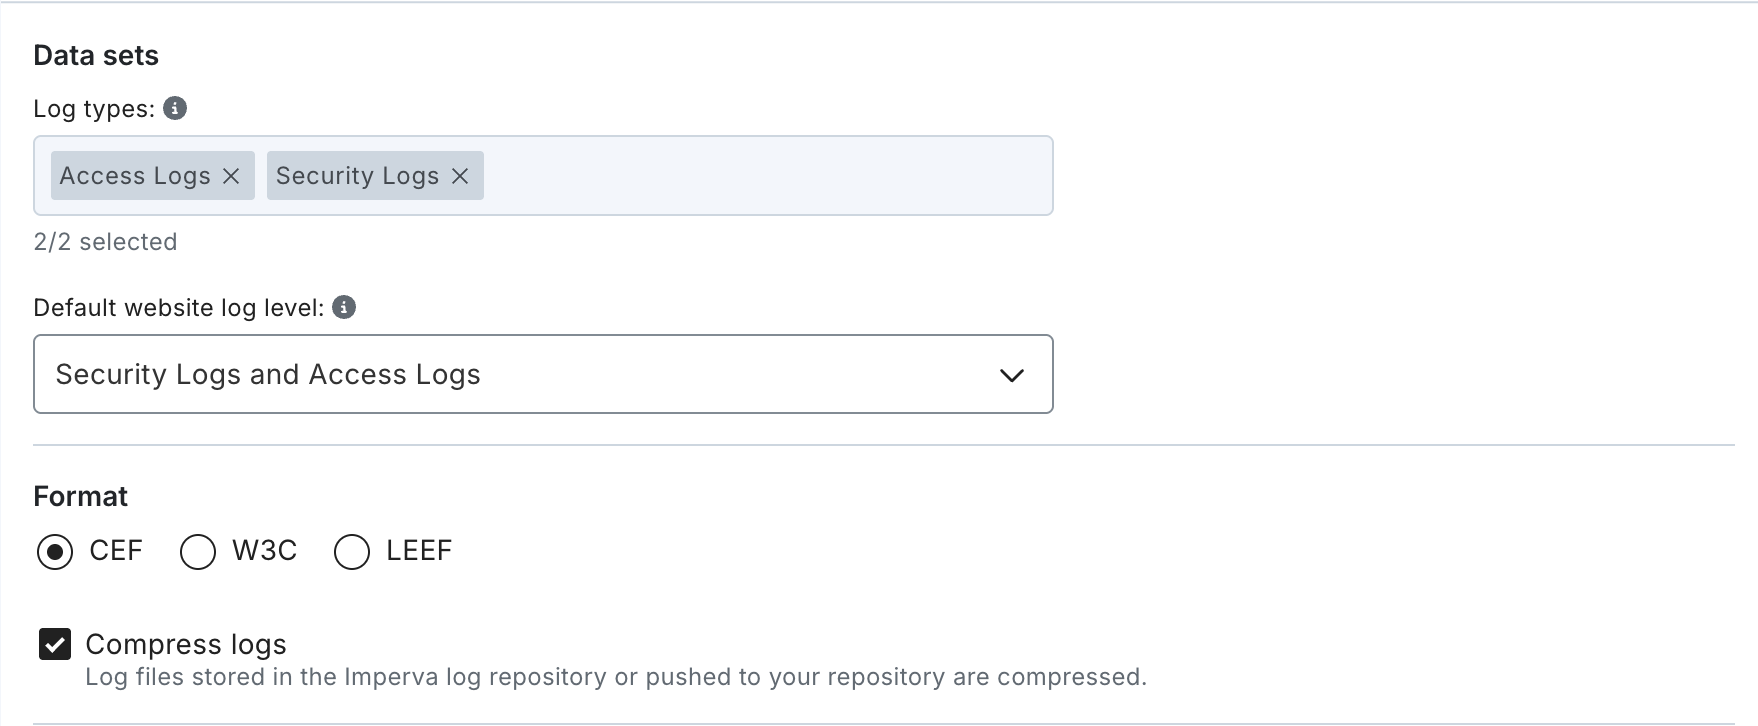
Step 4 - There are a few additional configuration options to select within Data sets. Choose ‘Security Logs and Access Logs’ under Default website log level option. The format will be ‘CEF’ and you can optionally select to Compress Logs as well.
Step 5 - Once saved, the log data should start dropping into your S3 bucket in a few minutes. You may need to coordinate with the imperva support team to ensure that dates are appended to log file names. After you see the logs generated with dates in the file names, place the IAM policy in your S3 bucket before emailing [email protected] your bucket details. The IAM policy can be found here.
Routing to Agent Site with Imperva
Routing to the Agent Site can be set up with Imperva’s Security Rules tooling. Please see docs here for reference.
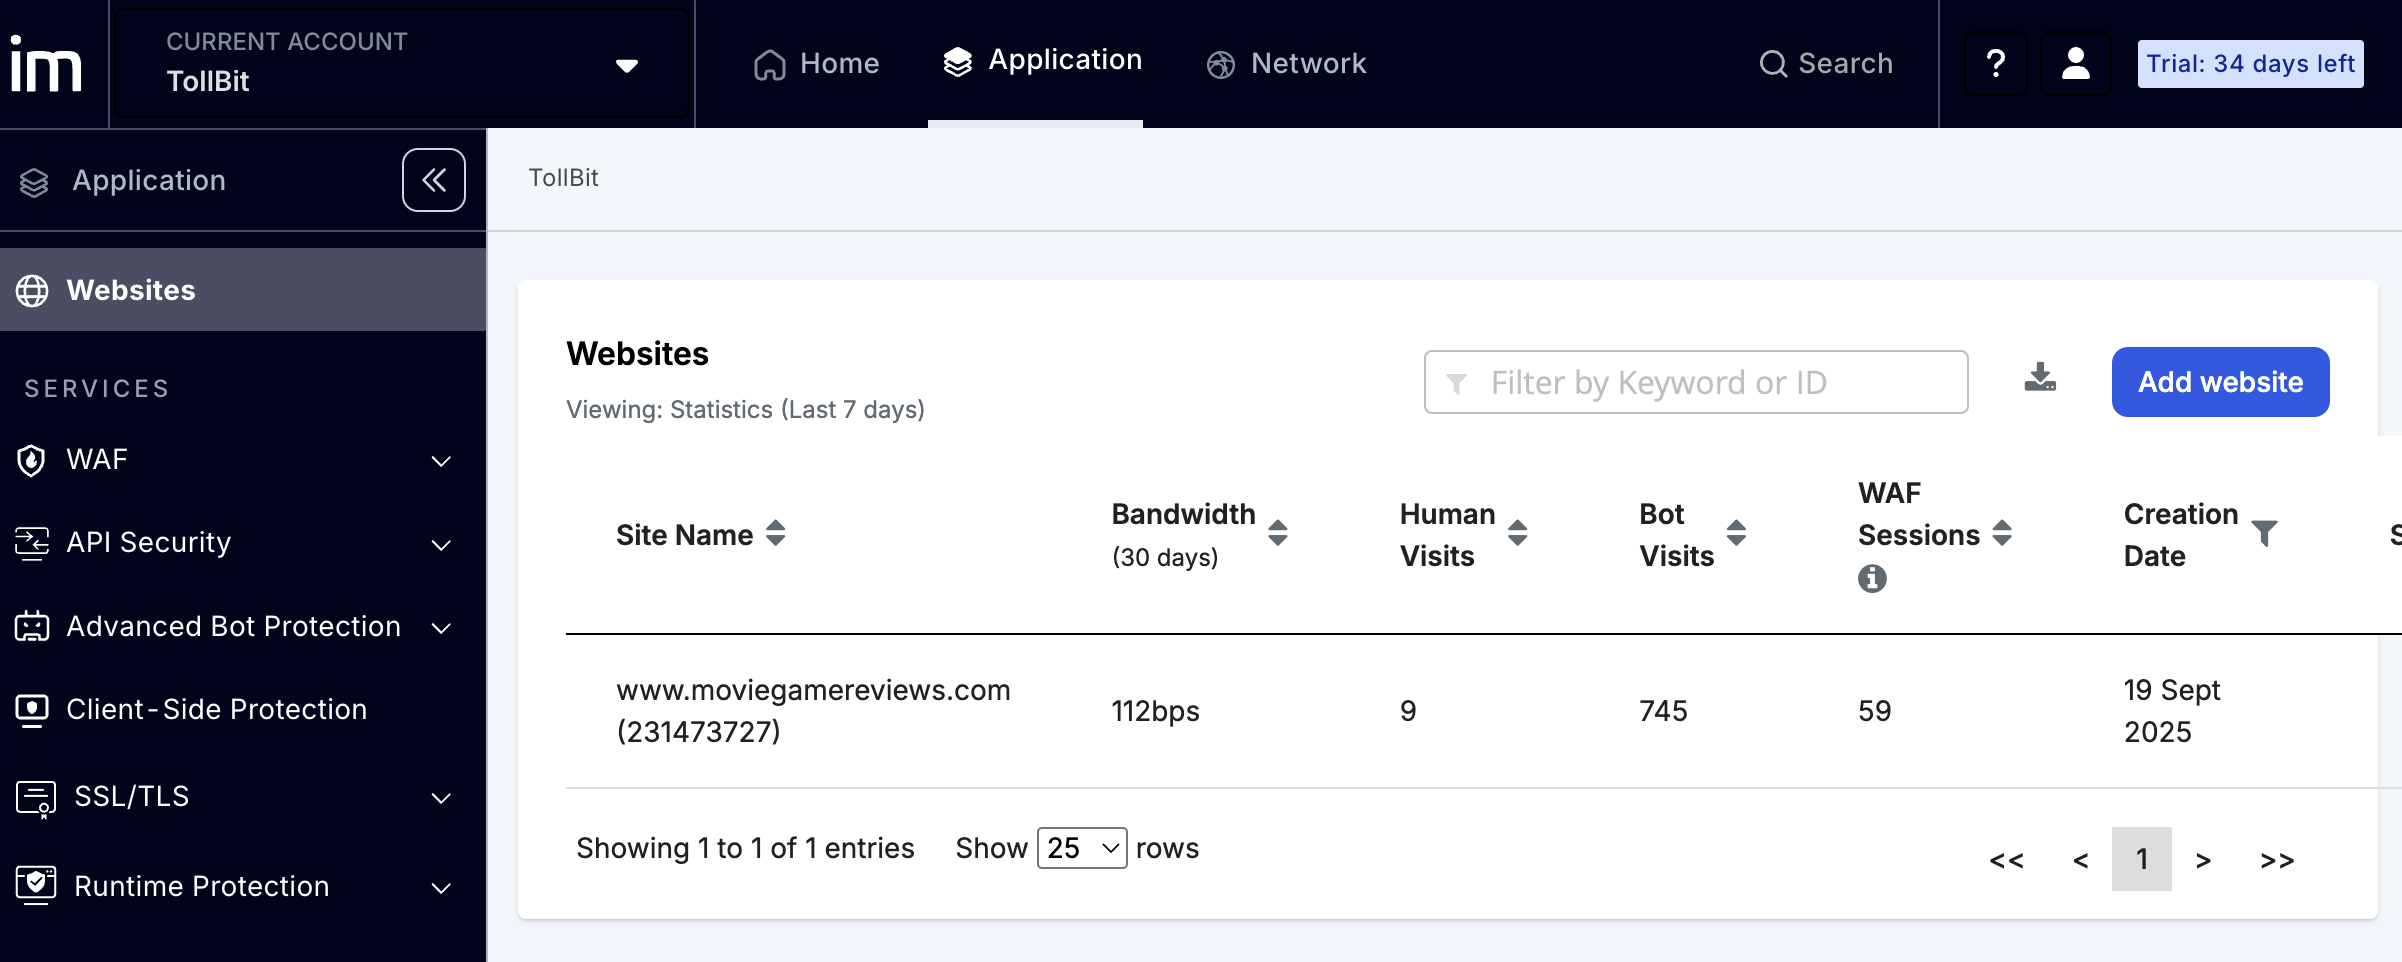
Step 1 - On the Imperva home page, select the Site you’re looking to set up the Paywall for.
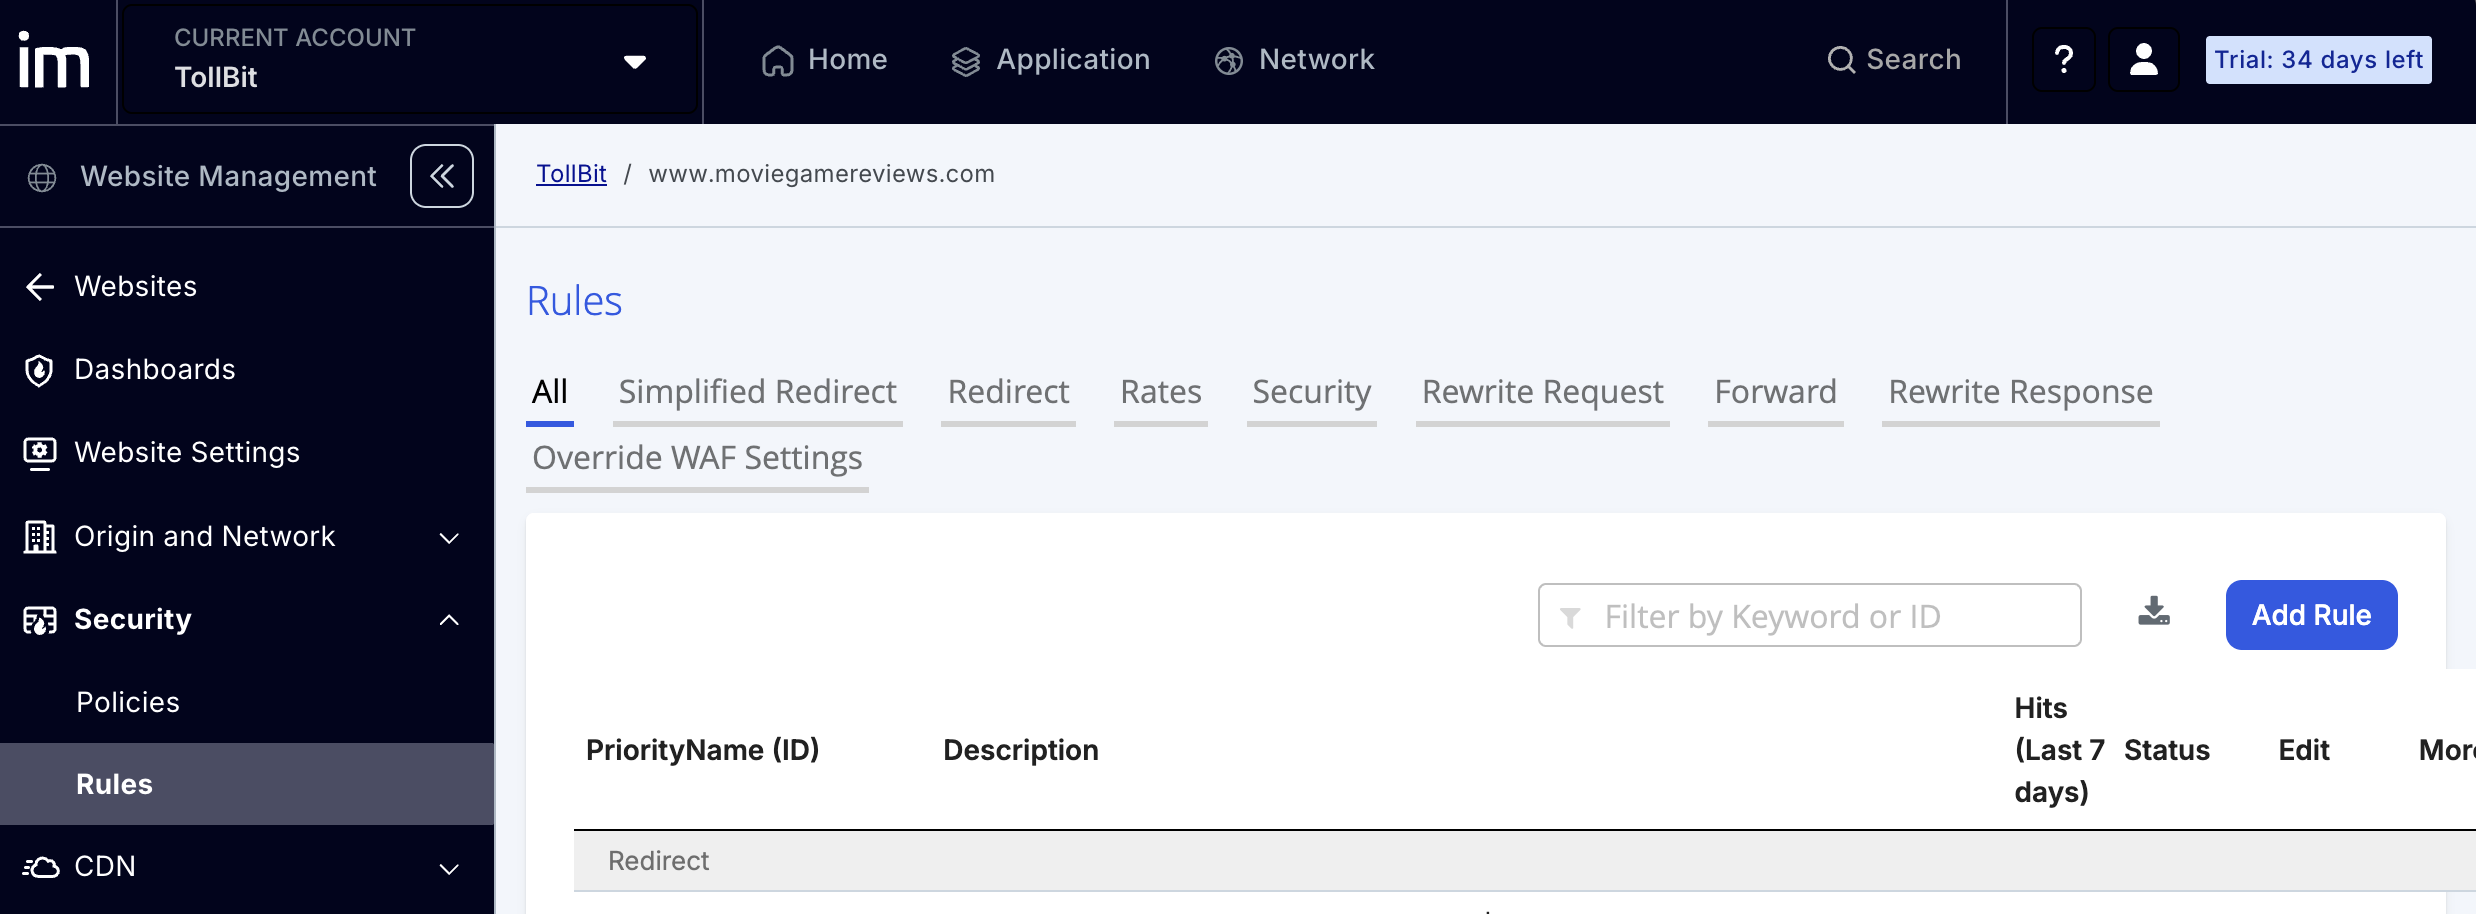
Step 2 - On the left navigation for the Website navigation, select Security Rules and then add a Rule as shown in the screenshot below.
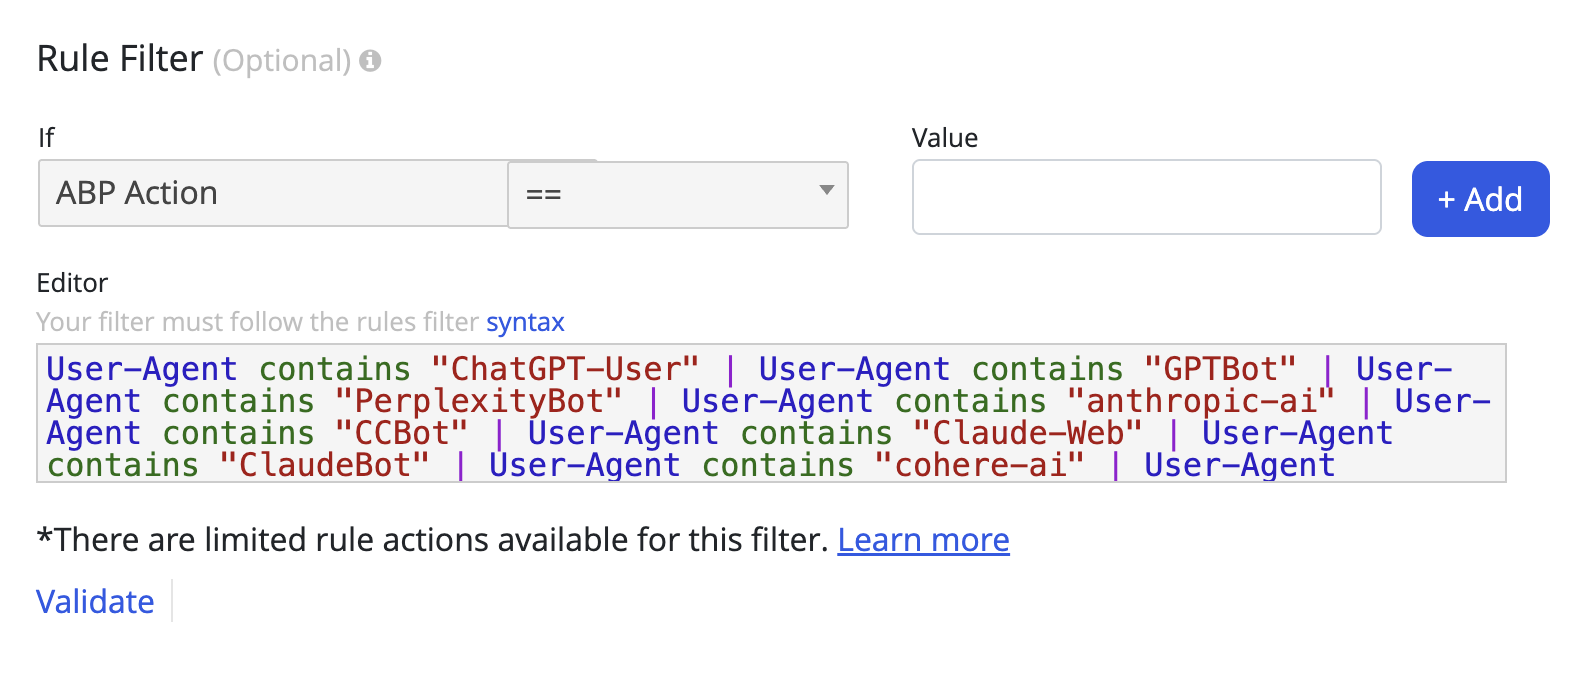
Step 3 - In the Rule, under the filtering condition, choose ABP Action in the If condition, the ‘==’ operator, and in the value field, copy and paste the following snippet below:
User-Agent contains "ChatGPT-User" | User-Agent contains "GPTBot" | User-Agent contains "PerplexityBot" | User-Agent contains "anthropic-ai" | User-Agent contains "CCBot" | User-Agent contains "Claude-Web" | User-Agent contains "ClaudeBot" | User-Agent contains "Claude-User" | User-Agent contains "Claude-SearchBot" | User-Agent contains "cohere-ai" | User-Agent contains "YouBot" | User-Agent contains "Diffbot" | User-Agent contains "OAI-SearchBot" | User-Agent contains "meta-externalagent" | User-Agent contains "Timpibot" | User-Agent contains "Amazonbot" | User-Agent contains "Bytespider" | User-Agent contains "Perplexity-User"Note you can customize this user agent string to support any user agent that you’d like to route to the Agent Site.
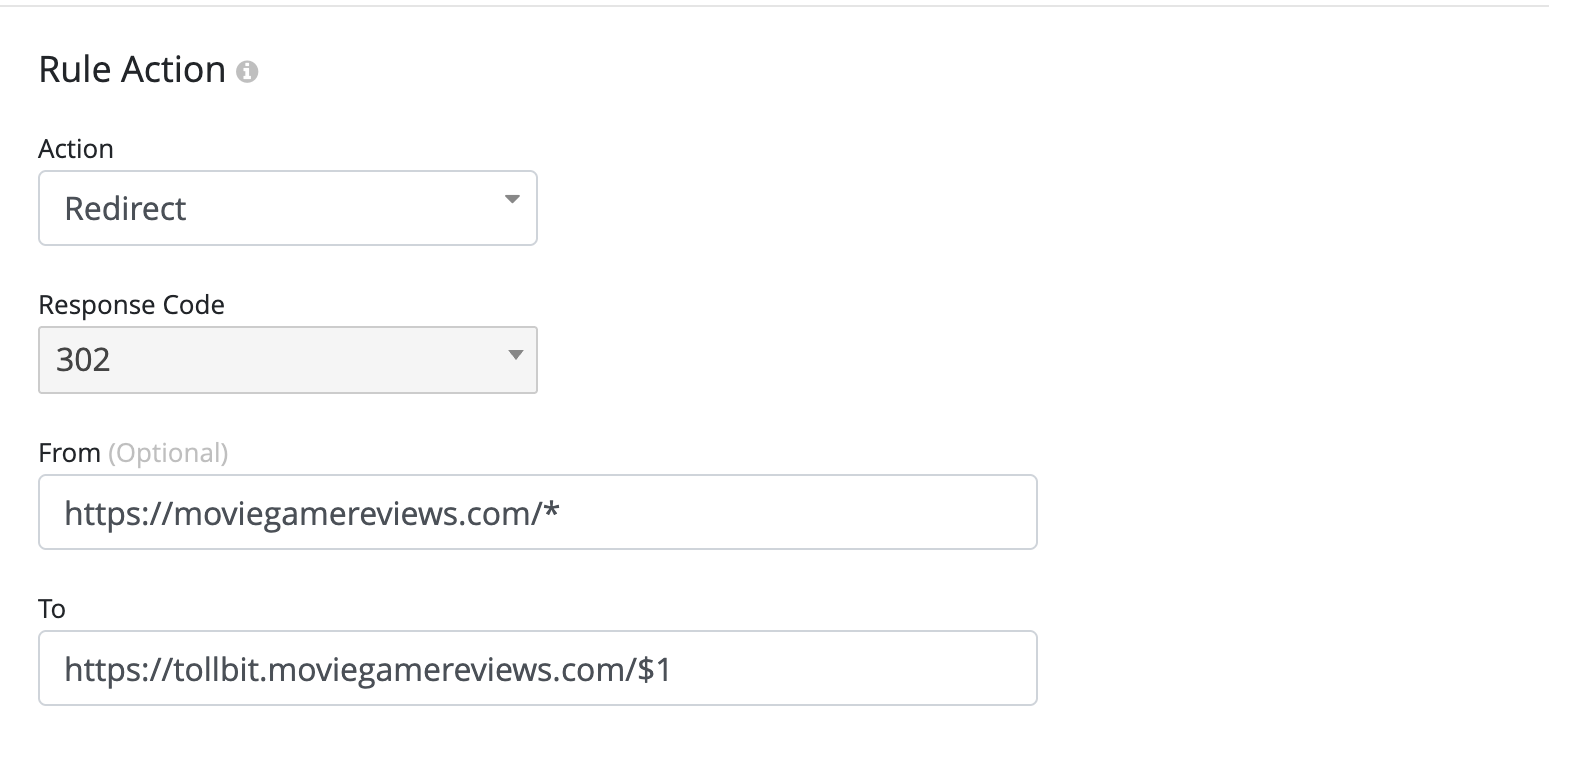
Step 4 - Under the Rule Action, select the redirect action with response code 302, and choose the following From and To fields for yoursite (example in screenshot below):
Step 5 - Click on Save, and your Agent Site routing configuration should be live immediately.
Updated about 1 month ago